
はじめに
では、ここからはWEBサーバーの設置を行っていきます
構成としては、Apache+MySQL+PHP+WordPressで進めていきます
Apacheのインストール
さくらのVPSでは初期状態でApacheはインストールされていません
まずはApacheをyumコマンドでインストールします
$ sudo yum -y install httpd
なお、現在Apacheには最新の2.4系も存在しているが、yumでインストールされるのは2.2.15のようです
$ httpd -v
Server version: Apache/2.2.15 (Unix)
Server built:   Aug 13 2013 17:29:28
設定ファイルの編集
設定ファイルを編集して、Apacheの初期設定を行います
かなり複雑な設定ファイルなので、いざというときのために編集前にバックアップを取っておきましょう
バックアップの取り方は人それぞれですが、私は同じ場所にファイル名を変えてコピーしています
$ sudo cp /etc/httpd/conf/httpd.conf /etc/httpd/conf/httpd.conf.original
バックアップしたら編集を開始しましょう
$ sudo vi /etc/httpd/conf/httpd.conf
はじめに ServerTokens の設定を変更します
エディタでコマンド入力状態のときに “/ServerTokens” を実行することで、キーワード”ServerTokens”を検索することができます
初期状態では攻撃者の参考になるOSの情報を返すようになっているので、サーバーがApacheであることだけを返すように変更します
# Don't give away too much information about all the subcomponents
# we are running.  Comment out this line if you don't mind remote sites
# finding out what major optional modules you are running
ServerTokens Prod
次に、ユーザーとグループがapacheになっていることを確認します
# User/Group: The name (or #number) of the user/group to run httpd as.
#  . On SCO (ODT 3) use "User nouser" and "Group nogroup".
#  . On HPUX you may not be able to use shared memory as nobody, and the
#    suggested workaround is to create a user www and use that user.
#  NOTE that some kernels refuse to setgid(Group) or semctl(IPC_SET)
#  when the value of (unsigned)Group is above 60000;
#  don't use Group #-1 on these systems!
#
User apache
Group apache
次はServerAdmin(サーバー管理者の連絡先)です
必要に応じて記述するかしないか決めればいいが、これからこのサーバーに設置するメールサーバーで受信するメールアドレスを書くことは避けましょう
なぜなら、同じサーバーに設置されているので、その時はメールも受け取れない可能性が高いからです
# ServerAdmin: Your address, where problems with the server should be
# e-mailed.  This address appears on some server-generated pages, such
# as error documents.  e.g. admin@your-domain.com
#
ServerAdmin root@localhost
次はDocumentRoot(ドキュメントの配置場所)です
標準では以下のようになっていますので、ここでは特に変更する必要はありませんが、WordPressでサブドメインを使って複数のBLOGを作成したり、ドメインそのものを複数使ってサイトを運用したりする際には、ここの設定を変更します
それについてはまた別の記事で説明します
# DocumentRoot: The directory out of which you will serve your
# documents. By default, all requests are taken from this directory, but
# symbolic links and aliases may be used to point to other locations.
#
DocumentRoot "/var/www/html"
次にオプション設定を変更します
先ほどのドキュメントルート”/var/www/html”に対応する以下の設定を変更します
標準ではファイルの一覧を表示する設定になってるので、表示しないようにします
ハイライトされている15行目のIndexesの前に”-“を付け、22行目のnoneをAllに変更します
<Directory "/var/www/html">

#
# Possible values for the Options directive are "None", "All",
# or any combination of:
#   Indexes Includes FollowSymLinks SymLinksifOwnerMatch ExecCGI MultiViews
#
# Note that "MultiViews" must be named *explicitly* --- "Options All"
# doesn't give it to you.
#
# The Options directive is both complicated and important.  Please see
# http://httpd.apache.org/docs/2.2/mod/core.html#options
# for more information.
#
    Options -Indexes FollowSymLinks

#
# AllowOverride controls what directives may be placed in .htaccess files.
# It can be "All", "None", or any combination of the keywords:
#   Options FileInfo AuthConfig Limit
#
    AllowOverride All

#
# Controls who can get stuff from this server.
#
    Order allow,deny
    Allow from all

</Directory>
次に、ServerSignature(サーバーの詳細情報の表示)をOffにする
これも悪意のある相手に余計な情報を与えないためです
# Optionally add a line containing the server version and virtual host
# name to server-generated pages (internal error documents, FTP directory
# listings, mod_status and mod_info output etc., but not CGI generated
# documents or custom error documents).
# Set to "EMail" to also include a mailto: link to the ServerAdmin.
# Set to one of:  On | Off | EMail
#
ServerSignature Off
以上で編集完了なので、簡単なミスは用意されているツールで確認する
スペルミスや不可能な設定値などのエラーになるような記述はこれで確認できる
$ sudo apachectl configtest
Syntax OK
サービスの起動
ではサービスを起動してみよう
$ sudo service httpd start
httpd を起動中:                                            [  OK  ]
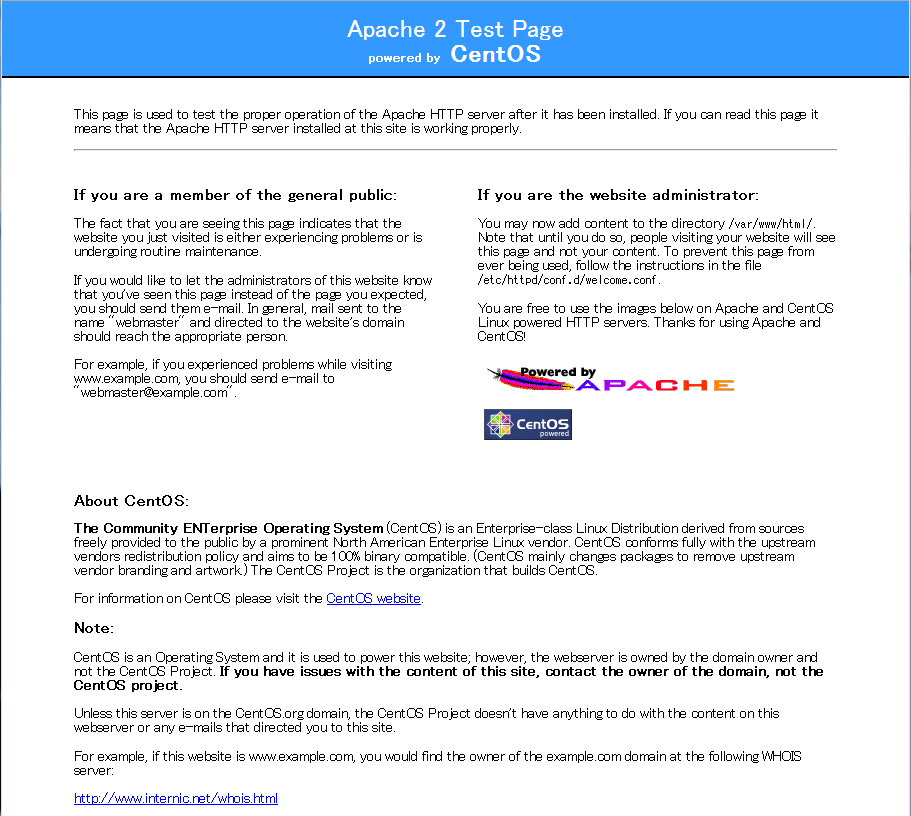
[OK]が出れば成功なので、早速先に登録してあったドメイン名、もしくはIPアドレスでブラウザでアクセスしてみよう
このようなテストページが表示されるはずである
起動サービスの登録
次にサーバーを再起動した際にも自動的にサービスが開始されるよう、サービスの登録を行っておこう
1行目が登録のコマンドですが、結果は表示されないので、その次のコマンドで実行結果を確認しています
$ sudo chkconfig httpd on
$ chkconfig --list httpd
httpd           0:off   1:off   2:on    3:on    4:on    5:on    6:off
これでWEB(HTTP)サーバーの準備は完了です
自分で作成したコンテンツを”/var/www/html”以下に設置することで、登録したドメインを使ってコンテンツを公開可能になりました
はじめに戻る さくらのVPS導入手順 0.はじめに
↓↓↓ブログランキングに参加しています↓↓↓


↑↑↑応援よろしくお願いします↑↑↑
| ■ AD ■ | |
|---|---|